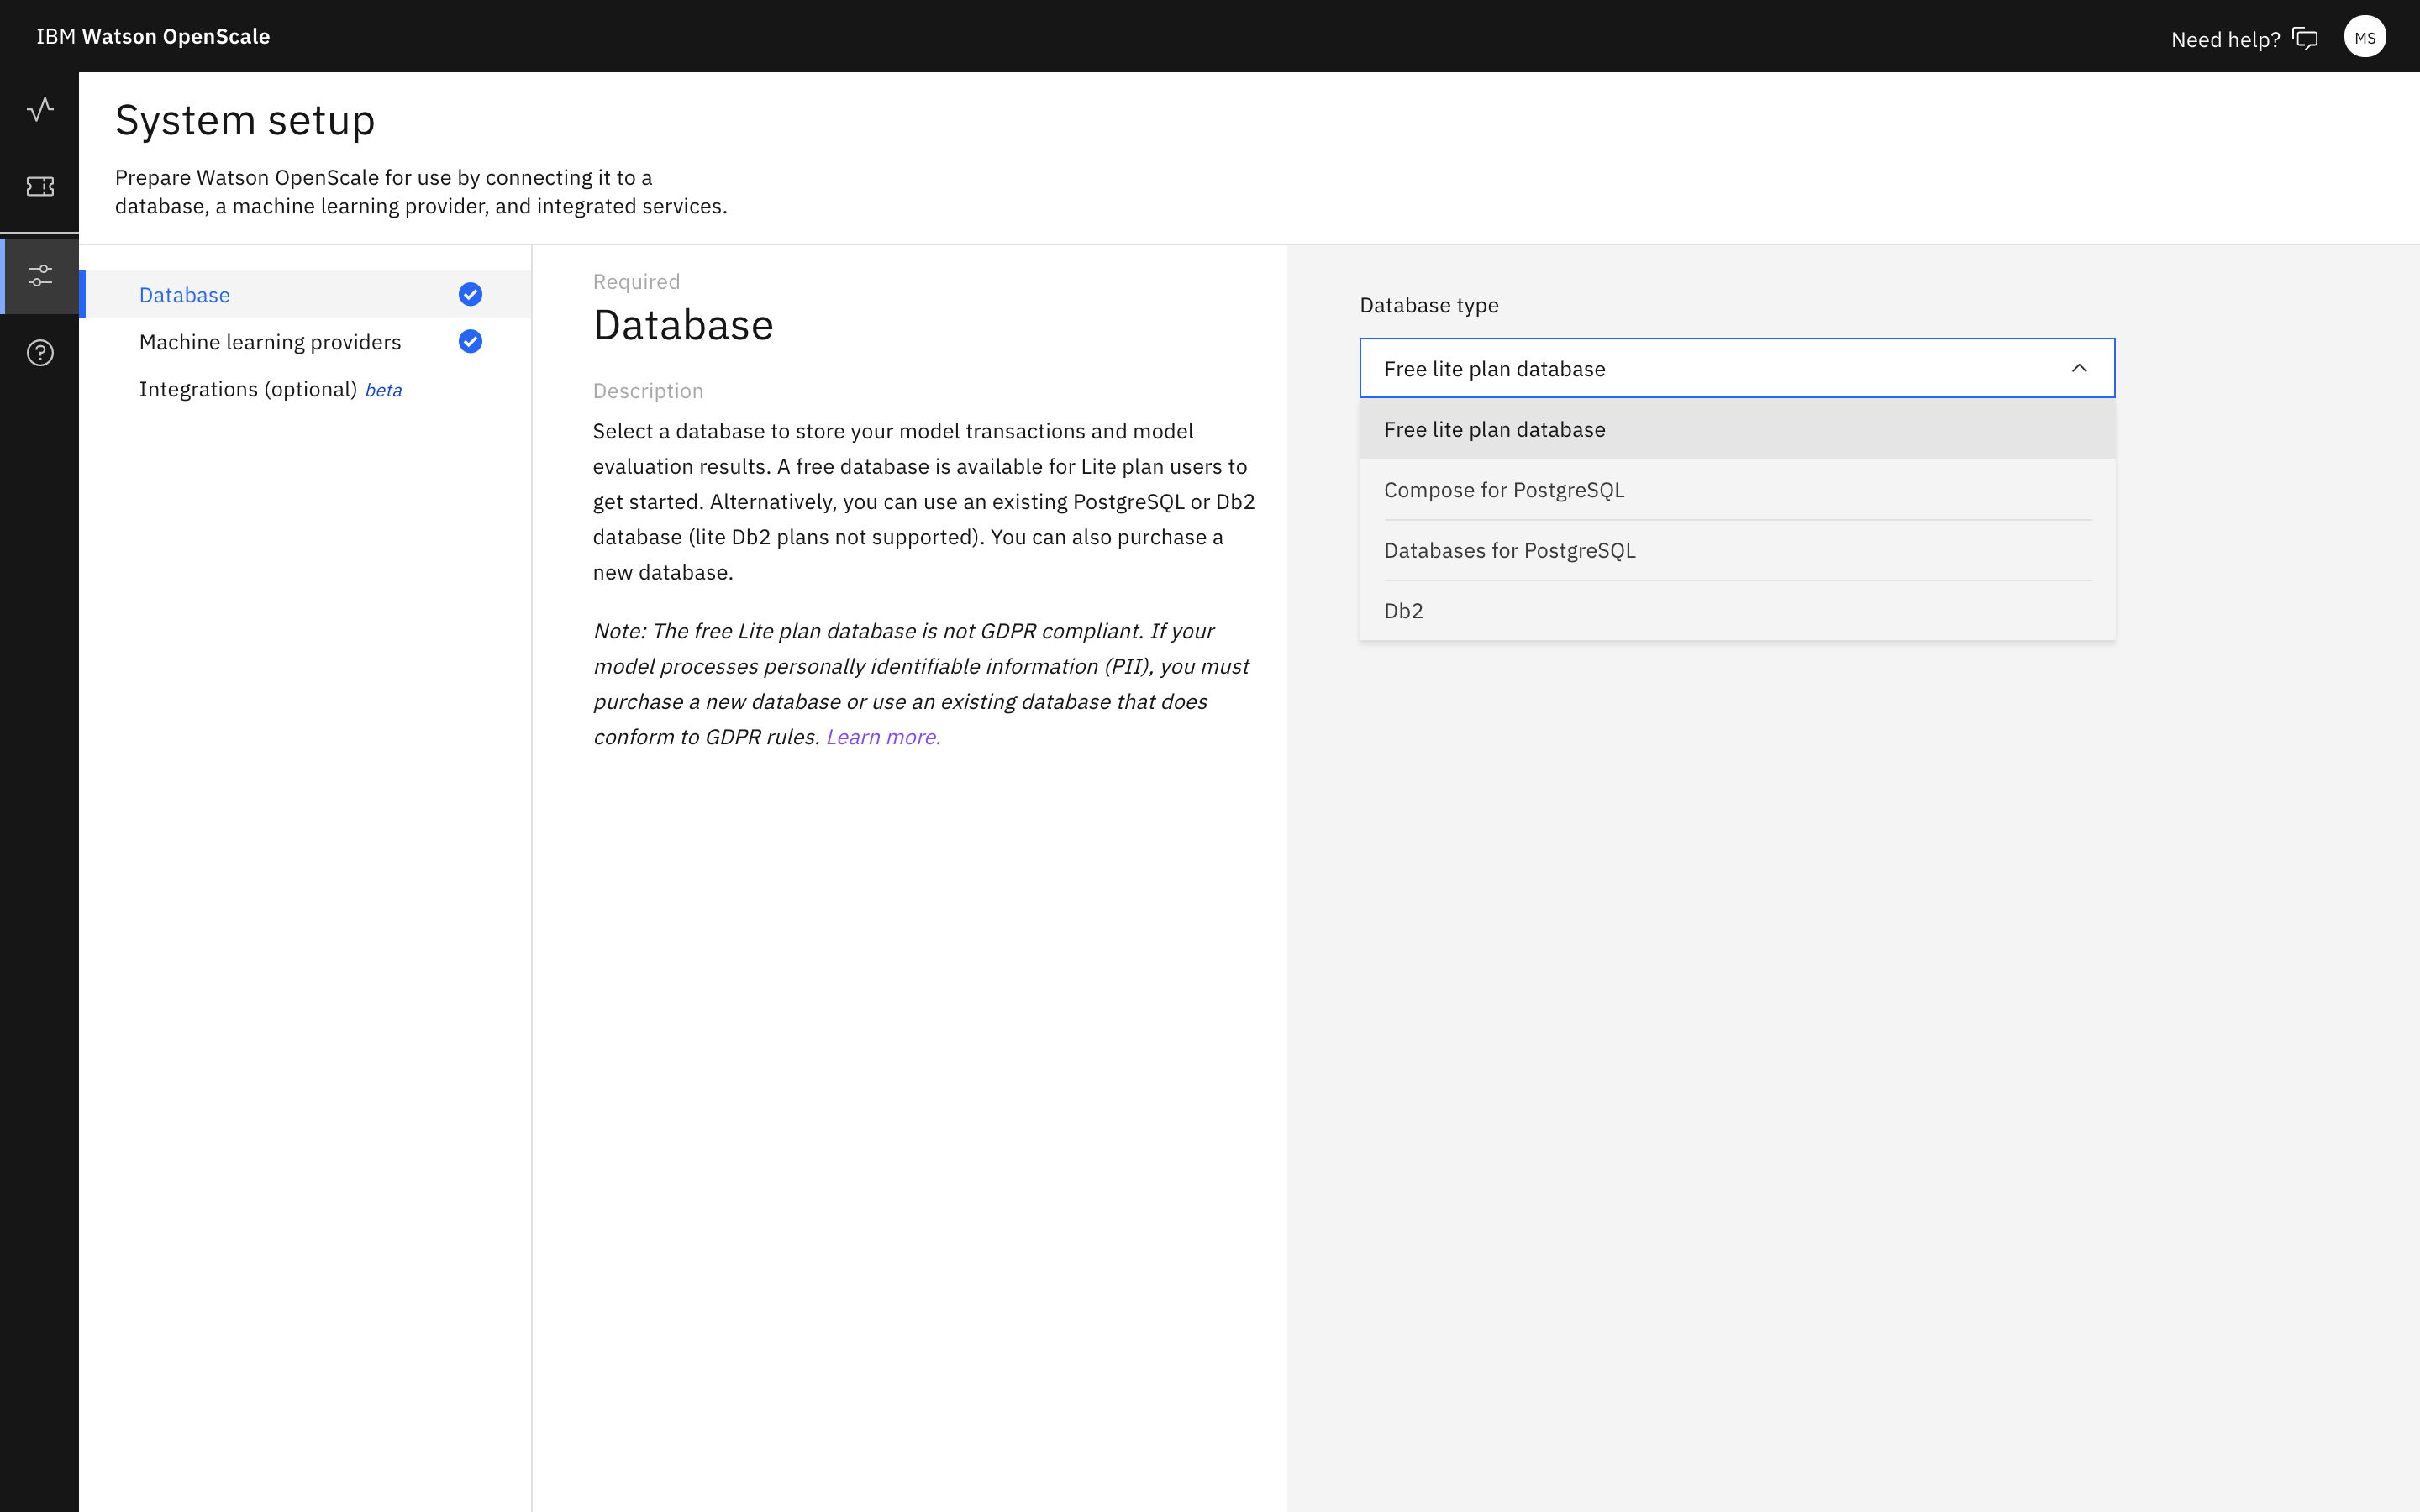
To set up IBM Watson OpenScale, you can connect to databases, create access policies, and manage users and roles.
Before you begin
- Provision a watsonx.ai Runtime service instance on your Cloud Pak for Data as a Service account.
After provisioning Watson OpenScale, you can complete the following setup:
Connecting an existing or new database
Watson OpenScale offers a free database for Lite plans or you can connect Databases for PostgreSQL or Db2 databases. If you are using a standard v2 plan, it is recommended to use your existing database or purchase a new database.
Complete the following steps to connect an existing or new database:
-
From the Watson OpenScale navigation menu, click Configure
 .
. -
Click Database and select a database type. If an existing database cannot be located, you can create a new database.

The free Lite plan database has some important limitations:
- The free database is hosted, and is not directly accessible to you.
- Watson OpenScale has full access to your database and data.
- If you reconfigure the database, Watson OpenScale loses your data.
- The free database is not GDPR-compliant. If your model processes personally identifiable information, you must purchase a new database or use an existing database that is GDPR compliant.
-
Select a database location. To connect a database outside of your IBM Cloud account, click Other and provide connection information.
-
Save your database connection and all changes made.
Supported Db2 databases for data mart
- Db2 on Cloud with default settings
- Db2 Warehouse on Cloud with default settings
- Db2 with the following settings:
- Product name: " Db2 Enterprise Server Edition"
- Product identifier: "db2ese"
- Version information: "11.5 or later"
Creating access policies
- From the IBM Cloud homepage, click Manage > Access (IAM).
- From the IAM dashboard, click Users and select Invite user.
- Complete the following fields:
- How do you want to assign access? :
Access policy. - Which service do you want to assign access to? :
watsonx.governancethen click Next. - Select the scope of access for users in the How do you want to scope the access? list and click Next.
- If you select Specific resources, select an attribute type and specify a value for each condition that you add.
- If you select Service instance in the Attribute type list, specify your instance in the Value field.
- How do you want to assign access? :
- If you have multiple instances, you must find the data mart ID to specify the instance that you want to assign users access to. You can use one of the following methods to find the data mart ID:
- On the Insights dashboard, click a model deployment tile and go to Actions > View model information to find the data mart ID.
- On the Insights dashboard, click the navigation menu on a model deployment tile and select Configure monitors. Then, go to the Endpoints tab and find the data mart ID in the Integration details section of the Model information tab.
- Select the Reader role in the Service access list.
- Assign access to users.
- If you are assigning access to new users, click Add, and then click Invite in the Access summary pane.
- If you are assigning access to existing users, click Add, and then click Assign in the Access summary pane.
You can create an access group with the required permissions for watsonx.governance and assign users to the group. For details on creating an access group, see Managing users and access.
Watson OpenScale users and roles
You can assign roles to Watson OpenScale users to collaborate on model evaluations. For more details, see Managing users and access.
The following table lists permissions for roles that you can assign for access to evaluations. The Operator and Viewer roles are equivalent.
| Operations | Admin role | Editor role | Viewer/Operator role |
|---|---|---|---|
| Add machine learning engine configuration | ✔ | ||
| Remove machine learning engine configuration | ✔ | ||
| Update machine learning configuration | ✔ | ||
| View machine learning configuration | ✔ | ||
| Add database configuration | ✔ | ||
| Remove database configuration | ✔ | ||
| Update database configuration | ✔ | ||
| View database configuration | ✔ | ||
| Model approval | ✔ | ✔ | |
| Evaluation | ✔ | ✔ | |
| View users and roles | ✔ | ||
| Add subscription to dashboard | ✔ | ✔ | |
| Remove subscription from dashboard | ✔ | ✔ | |
| View subscription | ✔ | ✔ | ✔ |
| Configure monitoring condition | ✔ | ✔ | |
| View monitoring condition | ✔ | ✔ | ✔ |
| Upload payload logging record | ✔ | ✔ | |
| Upload feedback data | ✔ | ✔ | |
| Upload training data CSV file in model risk management | ✔ | ✔ | |
| Run auto setup | ✔ | ||
| API calls to update the system | ✔ | ✔ | |
| API calls to query the subscriptions and monitoring | ✔ | ✔ | ✔ |
Parent topic: Setting up the platform for administrators