オーケストレーション・パイプラインのカスタム・コンポーネントは、ユーザーが作成したスクリプトを実行します。 カスタム・コンポーネントを使用して、パイプライン間で再使用可能なスクリプトを共有できます。
カスタム・コンポーネントは、プロジェクト資産として作成します。 その後、そのプロジェクトで作成したパイプラインでコンポーネントを使用できます。 パイプライン用のカスタム・コンポーネントは、必要な数だけ作成できます。 現在、 Python 関数を使用して、プログラムでカスタム・コンポーネントを作成する必要があります。
プロジェクト資産としてのコンポーネントの作成
カスタム・コンポーネントを作成するには、 Python クライアントを使用して IBM Orchestration Pipelines で認証し、コンポーネントをコーディングしてから、指定したプロジェクトにそのコンポーネントを公開します。 プロジェクトで使用可能になったら、パイプライン内のノードにコンポーネントを割り当てて、パイプライン・フローの一部として実行することができます。
この例では、2 つの数値を一緒に追加するコンポーネントを公開してから、そのコンポーネントをパイプライン・ノードに割り当てるプロセスを示します。
Python クライアントを使用して、関数をコンポーネントとして公開します。 Cloud Pak for Data as a Serviceのプロジェクトの Jupyter Notebook で以下のコードを実行します。
# Install libraries
! pip install ibm-orchestration-pipelines

# Authentication
from ibm_orchestration_pipelines import OrchestrationPipelines

apikey = ''
project_id = 'your_project_id'

client = OrchestrationPipelines(apikey, url=service_url)


# Define the function of the component

# If you define the input parameters, users are required to
# input them in the UI

def add_two_numbers(a: int, b: int) -> int:
    print('Adding numbers: {} + {}.'.format(a, b))
    return a + b + 10

# Other possible functions might be sending a Slack message,
# or listing directories in a storage volume, and so on.

# Publish the component
client.publish_component(
    name='Add numbers', # Appears in UI as component name
    func=add_two_numbers,
    description='Custom component adding numbers', # Appears in UI as component description
    project_id=project_id,
    overwrite=True, # Overwrites an existing component with the same name
)
新しい API キーを生成するには、以下のようにします。
- IBM Cloud ホーム・ページ に移動します。
- 「管理」>「アクセス (IAM)」をクリックします。
- API キーをクリックします
- 「作成」をクリック
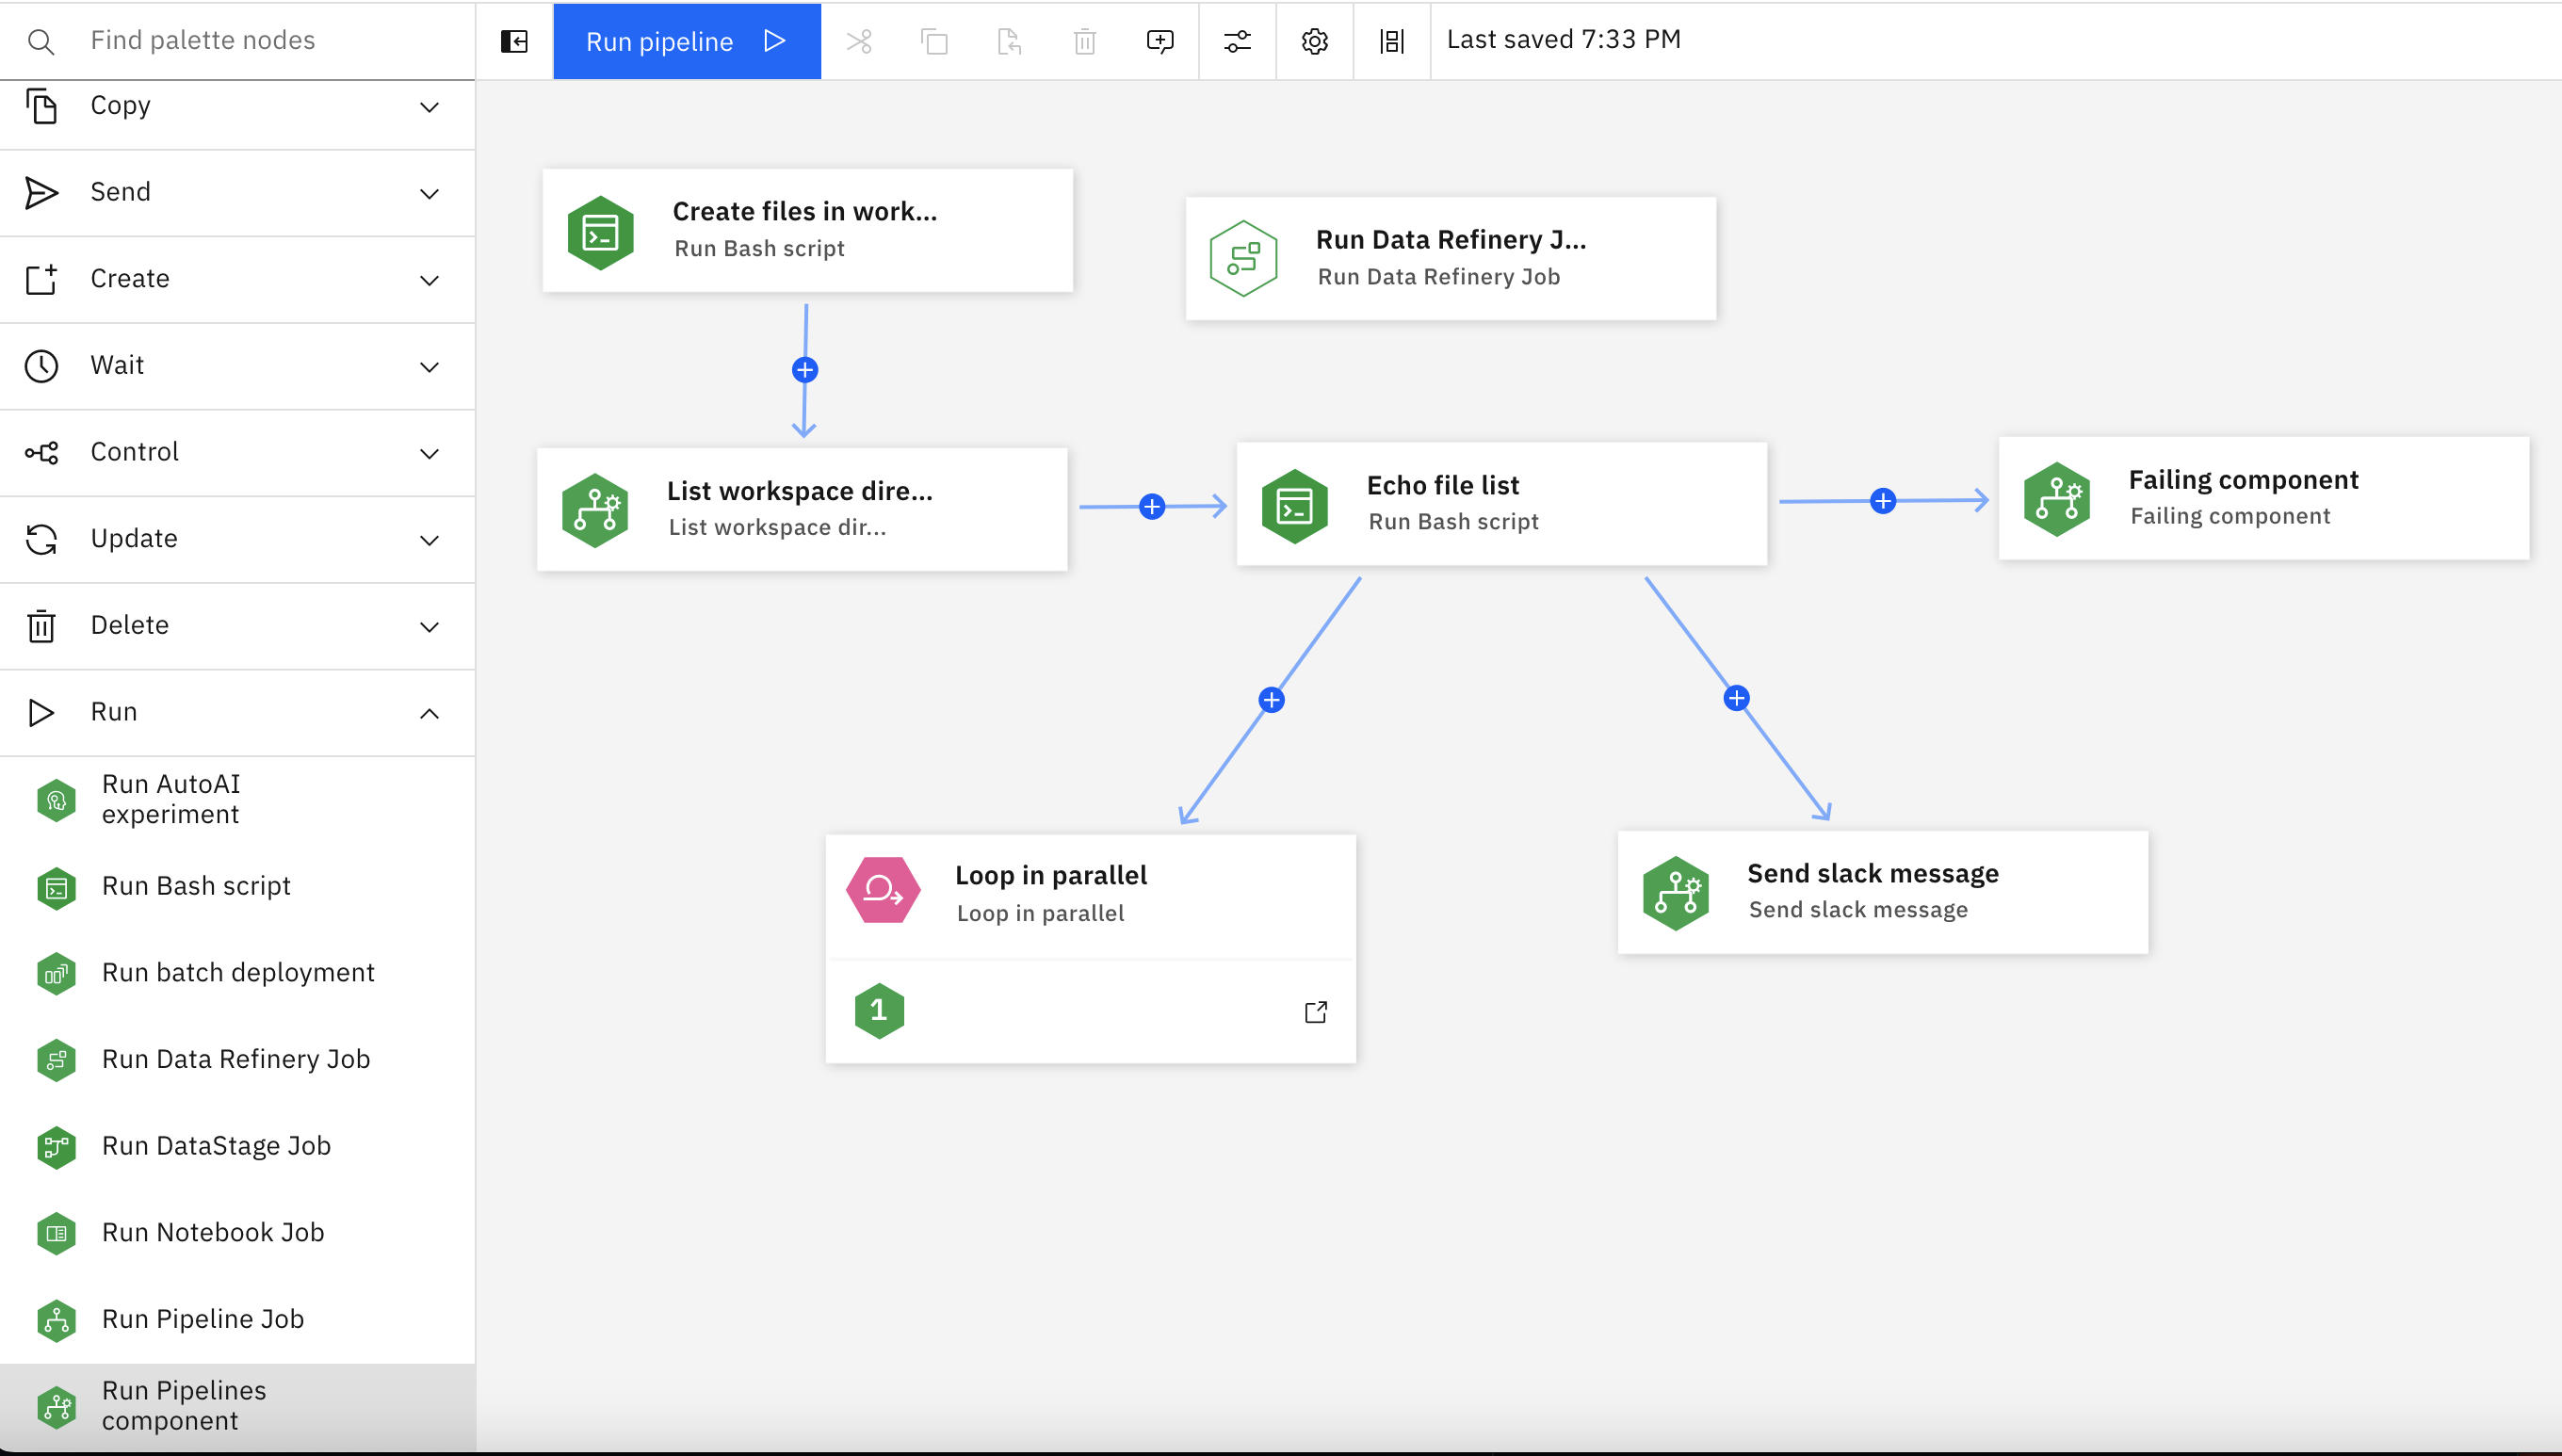
「実行」 の下の 「パイプライン・コンポーネントの実行 (Run Pipelines component)」 というノードをキャンバスにドラッグします。

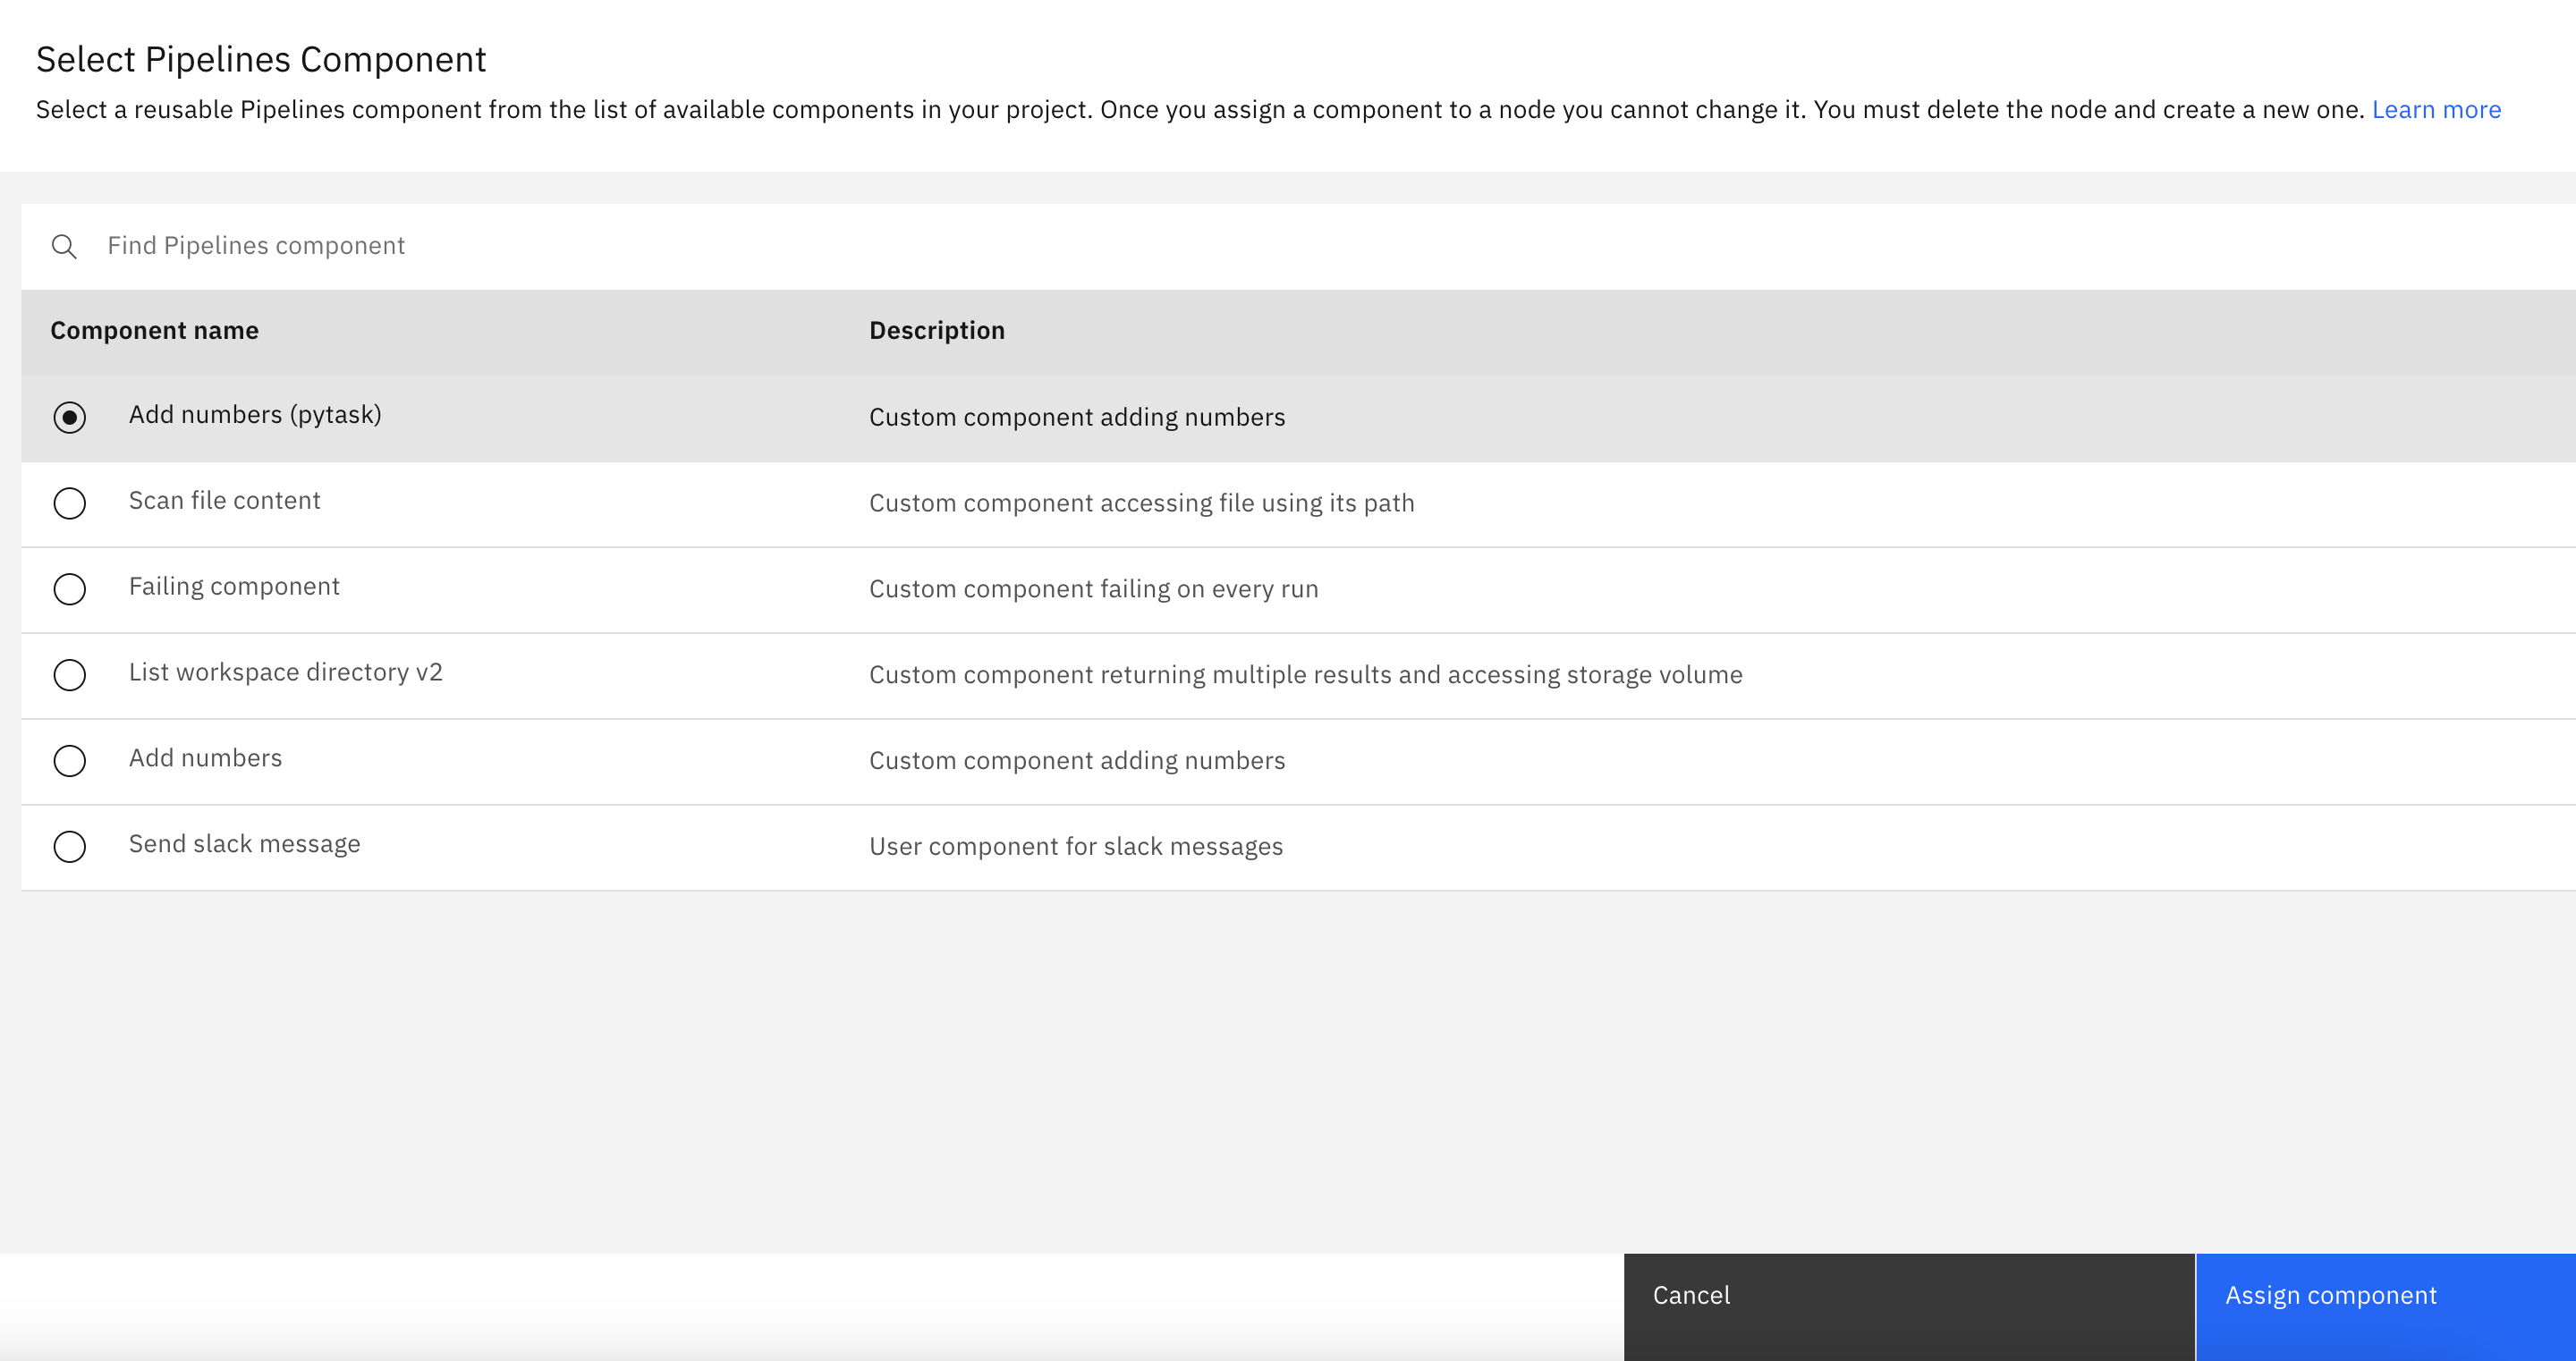
使用したいコンポーネントの名前を選択します。

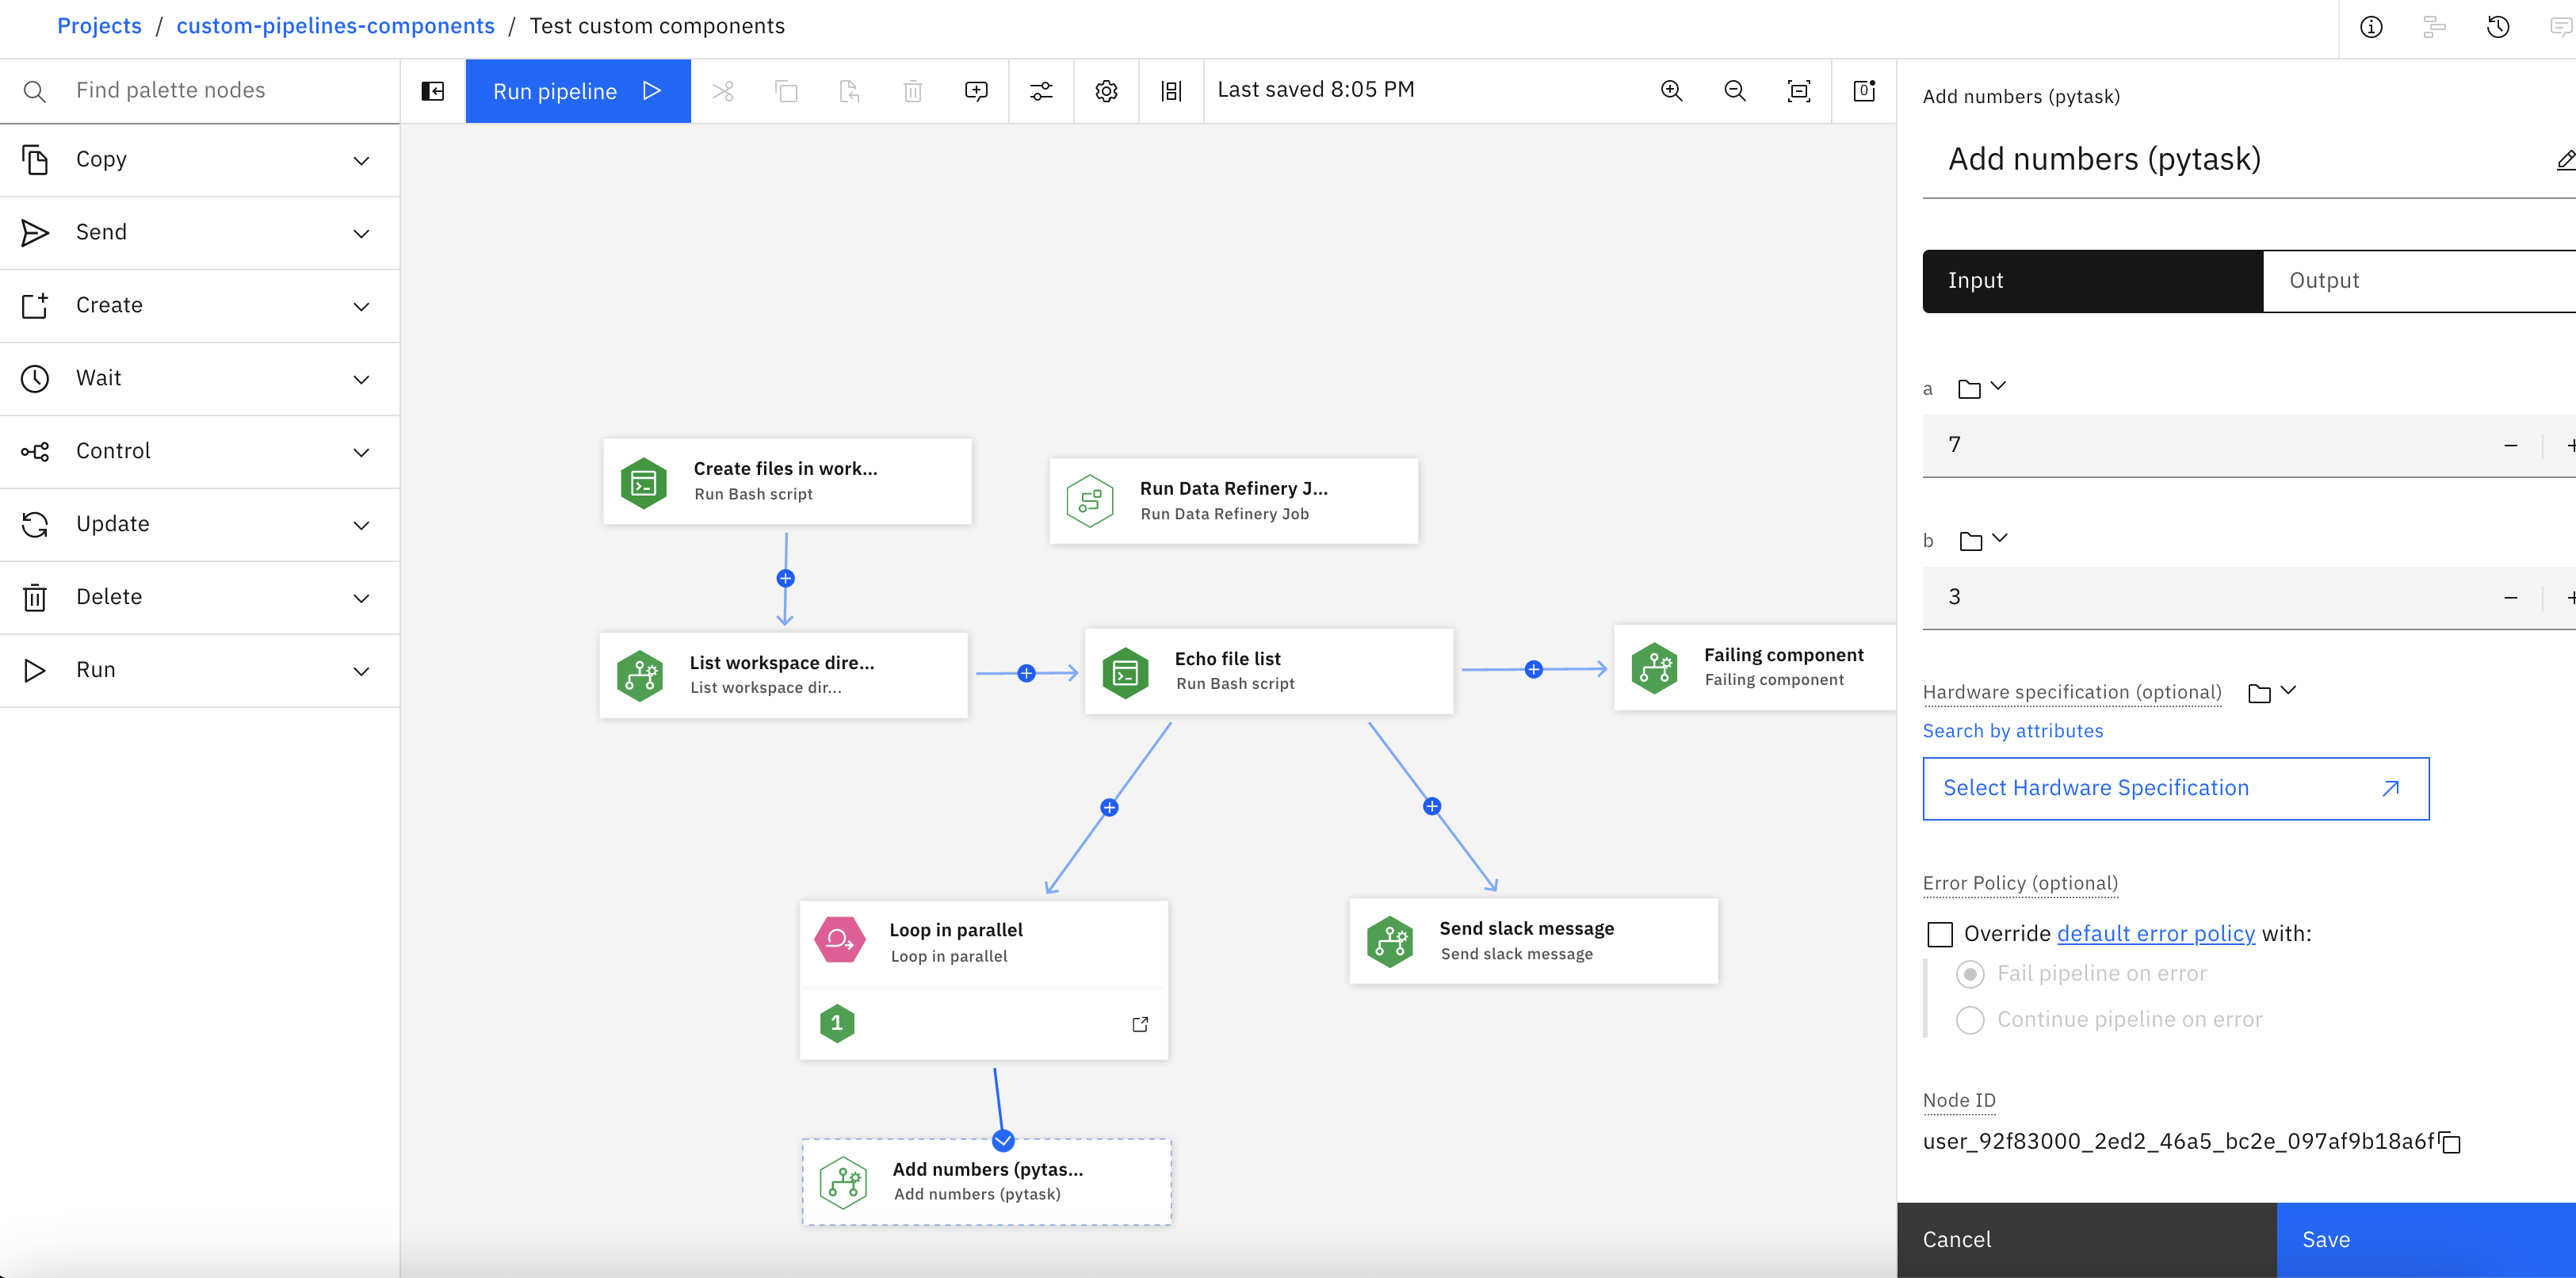
パイプライン・ジョブの一部としてノードを接続して実行します。

パイプライン・コンポーネントの管理
これらの Python クライアント・メソッドを使用して、カスタム・パイプライン・コンポーネントを管理します。
| 方法 | 関数 |
|---|---|
client.get_components(project_id=project_id) |
プロジェクトからコンポーネントをリストします |
client.get_component(project_id=project_id, component_id=component_id) |
ID によるコンポーネントの取得 |
client.get_component(project_id=project_id, name=component_name) |
名前によるコンポーネントの取得 |
client.publish_component(component name) |
新規コンポーネントの公開 |
client.delete_component(project_id=project_id, component_id=component_id) |
ID を指定してコンポーネントを削除する |
親トピック: パイプラインの作成