Go back to the English version of the documentation创建定制组件以在管道中使用
创建定制组件以在管道中使用
Last updated: 2024年6月10日
编排管道定制组件运行您编写的脚本。 您可以使用定制组件在管道之间共享可复用脚本。
您可以创建定制组件作为项目资产。 然后,可以使用在该项目中创建的管道中的组件。 您可以根据需要为管道创建任意数量的定制组件。 当前,您必须使用 Python 函数以编程方式创建定制组件。
创建组件作为项目资产
要创建定制组件,请使用 Python 客户机向 IBM Orchestration Pipeline 进行认证,对组件进行编码,然后将组件发布到指定的项目。 在项目中提供组件后,可以将组件分配给管道中的节点,并将其作为管道流的一部分运行。
此示例演示了发布组件的过程,该组件将两个数字相加,然后将该组件分配给管道节点。
使用 Python 客户机将函数作为组件发布。 在 Cloud Pak for Data as a Service项目中的 Jupyter Notebook 中运行以下代码。
# Install libraries
! pip install ibm-orchestration-pipelines

# Authentication
from ibm_orchestration_pipelines import OrchestrationPipelines

apikey = ''
project_id = 'your_project_id'

client = OrchestrationPipelines(apikey, url=service_url)


# Define the function of the component

# If you define the input parameters, users are required to
# input them in the UI

def add_two_numbers(a: int, b: int) -> int:
    print('Adding numbers: {} + {}.'.format(a, b))
    return a + b + 10

# Other possible functions might be sending a Slack message,
# or listing directories in a storage volume, and so on.

# Publish the component
client.publish_component(
    name='Add numbers', # Appears in UI as component name
    func=add_two_numbers,
    description='Custom component adding numbers', # Appears in UI as component description
    project_id=project_id,
    overwrite=True, # Overwrites an existing component with the same name
)
要生成新的 API 密钥:
- 转至 IBM Cloud 主页
- 单击 "管理> 访问权 (IAM)"
- 单击 API 密钥
- 单击创建
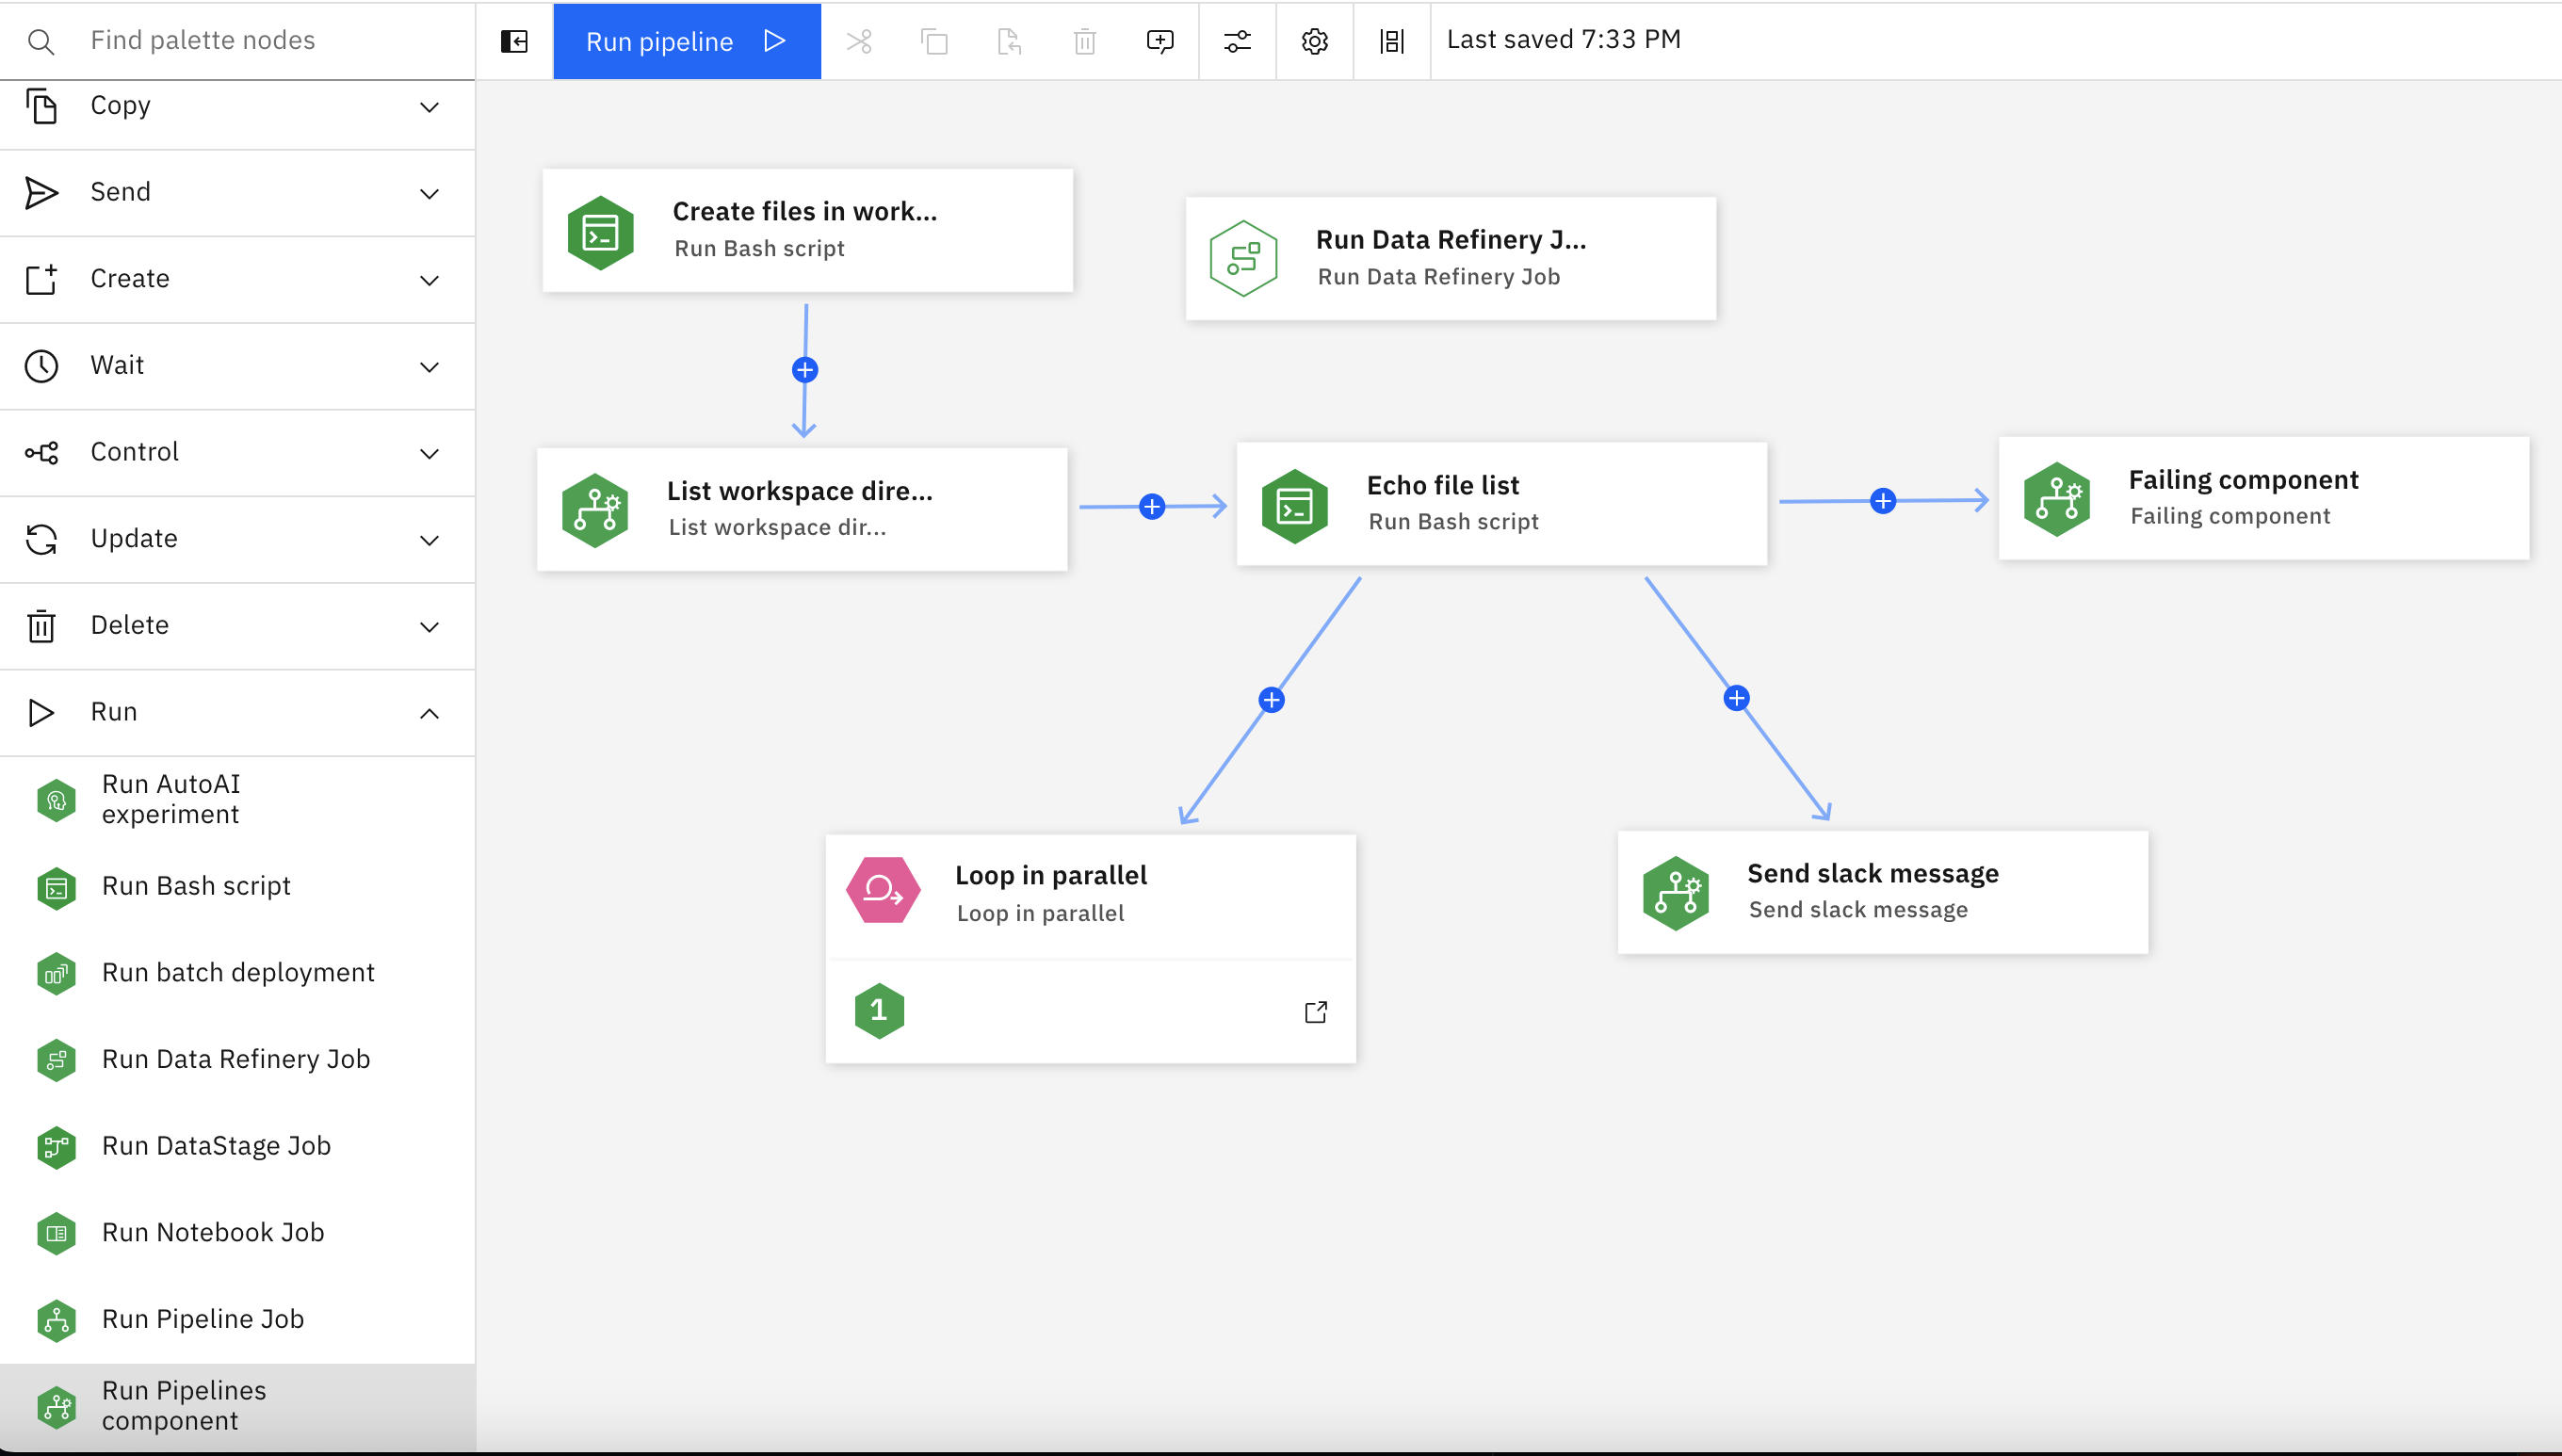
将名为 运行管道组件 的节点拖到画布上的 运行 下。

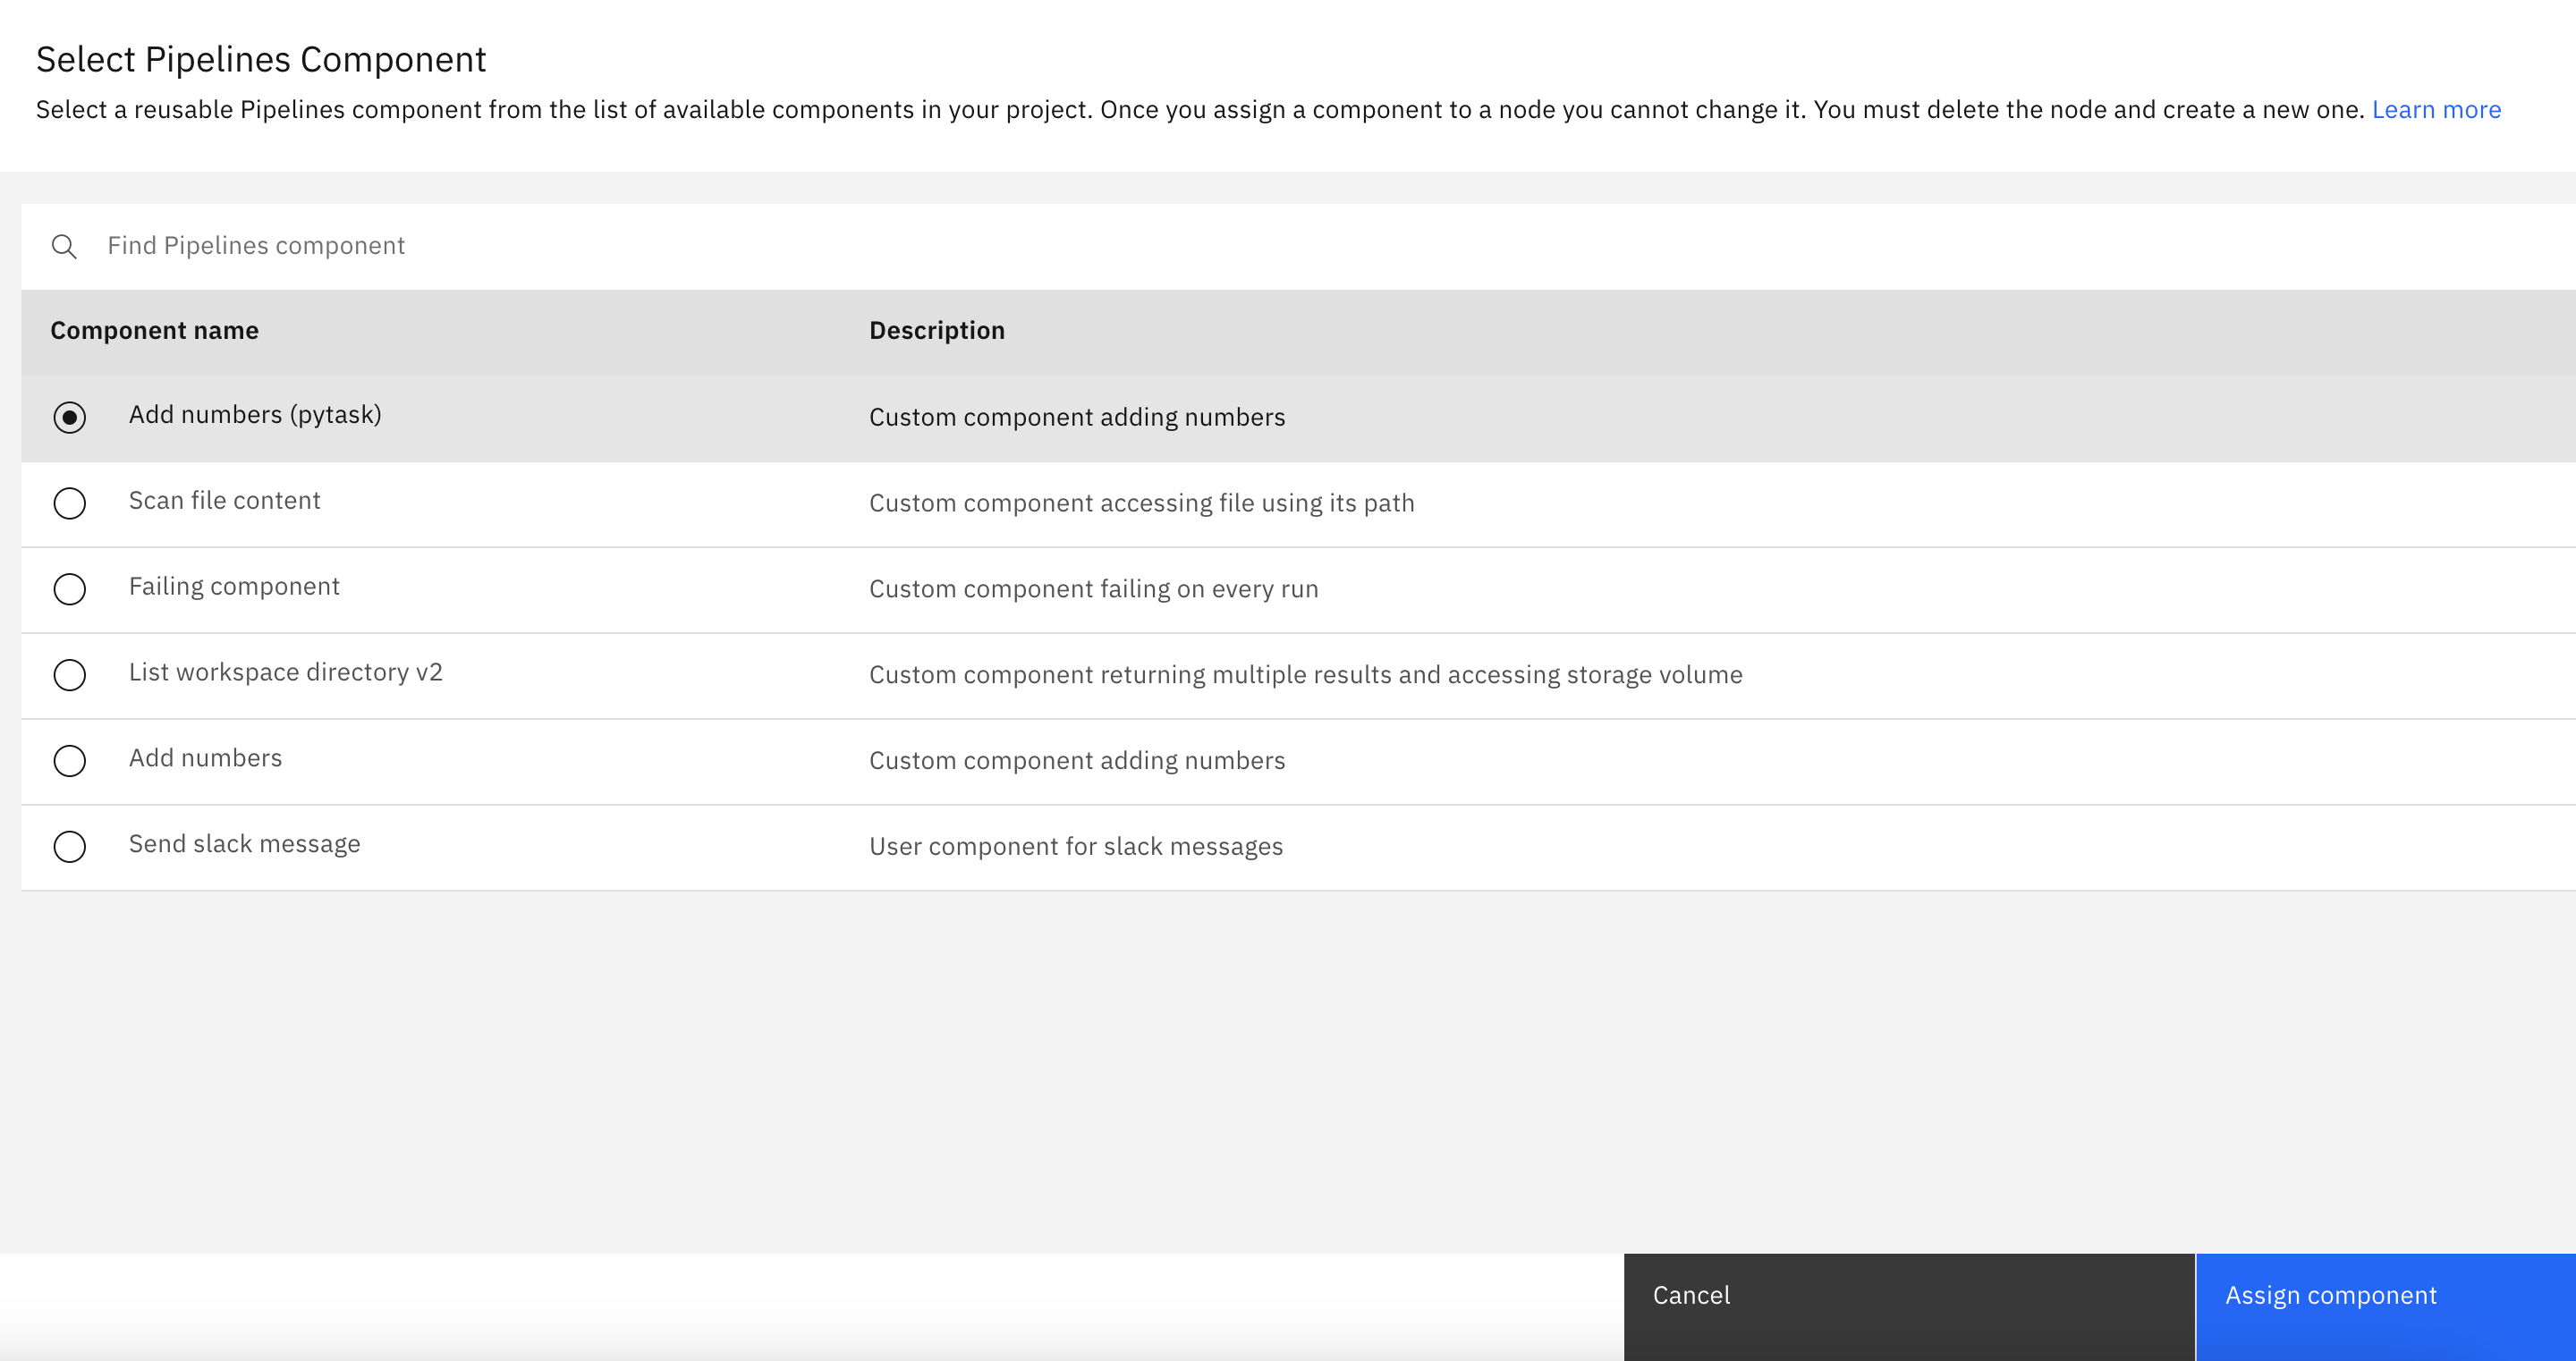
选择要使用的组件的名称。

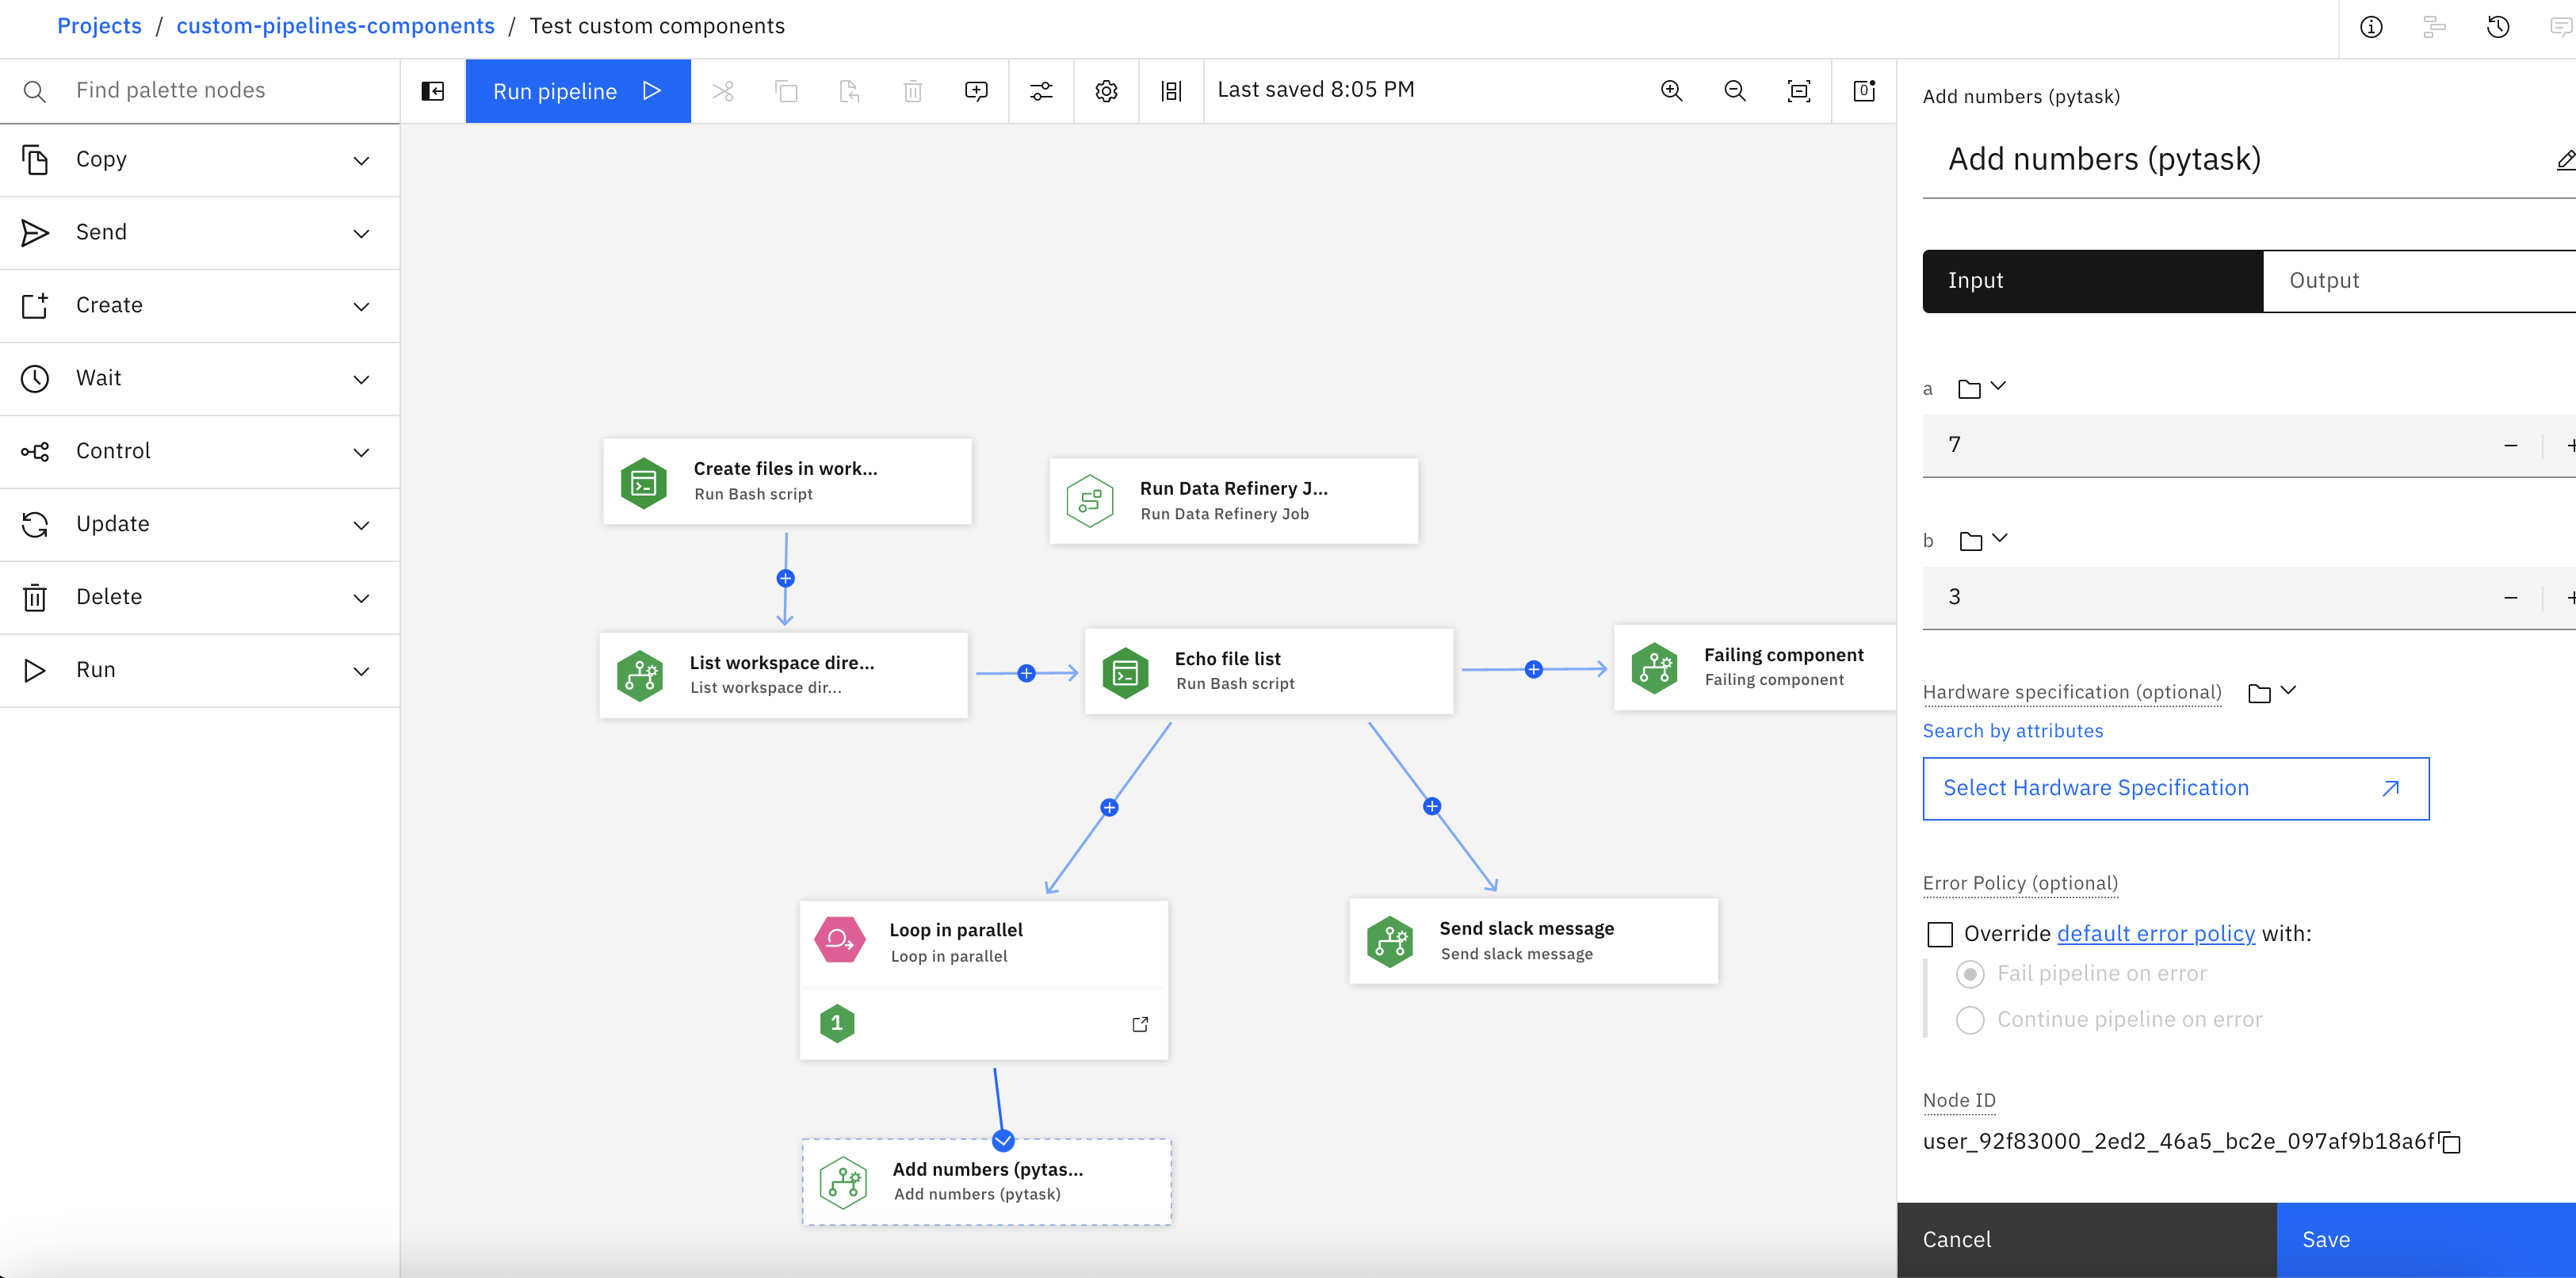
作为管道作业的一部分连接并运行节点。

管理管道组件
使用这些 Python 客户机方法来管理定制管道组件。
| 方法 | 函数 |
|---|---|
client.get_components(project_id=project_id) |
列出项目中的组件 |
client.get_component(project_id=project_id, component_id=component_id) |
按标识获取组件 |
client.get_component(project_id=project_id, name=component_name) |
按名称获取组件 |
client.publish_component(component name) |
发布新组件 |
client.delete_component(project_id=project_id, component_id=component_id) |
按标识删除组件 |
父主题: 创建管道
Was the topic helpful?
0/1000