You can build OPL models in the Decision Optimization experiment UI in watsonx.ai.
In this section:
To create an OPL model in the experiment UI, select in the model selection window. You can also import OPL models from a file or import a scenario .zip file that contains the OPL model and the data. If you import from a file or scenario .zip file, the data must be in .csv format. However, you can import other file formats that you have as project assets into the experiment UI. You can also import data sets including connected data into your project from the Decision Optimization experiment UI in the Prepare data view. For more information, see Importing data into a scenario.
Inputs and Outputs
tuplesetProductname, demand, insideCost,outsideCosttuple TProduct { key string name; float demand; float insideCost; float outsideCost; }; {TProduct} Product = ...;
The limitation on only using tuples and tuple sets as OPL input is to facilitate integration with data sources. For example, SQL data sources can be accessed and data-streamed with a minimum of effort; NoSQL data sources can be accessed and data can be transformed automatically to tables. If necessary, the optimization model developer can reformulate the data to populate other data structures during the optimization, but this manipulation must not affect the input or output data.
tupleset/// solution tuple TPlannedProduction { key string productId; float insideProduction; float outsideProduction; } {TPlannedProduction} plan = {<p.name, Inside[p], Outside[p]> | p in Products};
You can find this example OPL model for a pasta production problem in the Model_Builder folder of the DO-samples. You can download and extract all the samples. Select the relevant product and version subfolder.
Engine settings
You can add an OPL parameter settings (.ops) file in your Decision Optimization experiment. An OPL settings file is where you store user-defined values of OPL options for mathematical programming, or constraint programming, and for the OPL language. It gives you access to the solver (engine) parameters so that you can modify them.
Click + (plus sign) and select Add engine settings file in the Build model view. The Visual editor opens where you can see the default parameter values, which are arranged in different categories, that you can customize for your model. You can also search for specific parameters by entering a name in the Find settings search field.
.
In this window, you can select different parameters or edit fields. If you modify the default parameters, a Customized Settings pane that lists your changes appears.
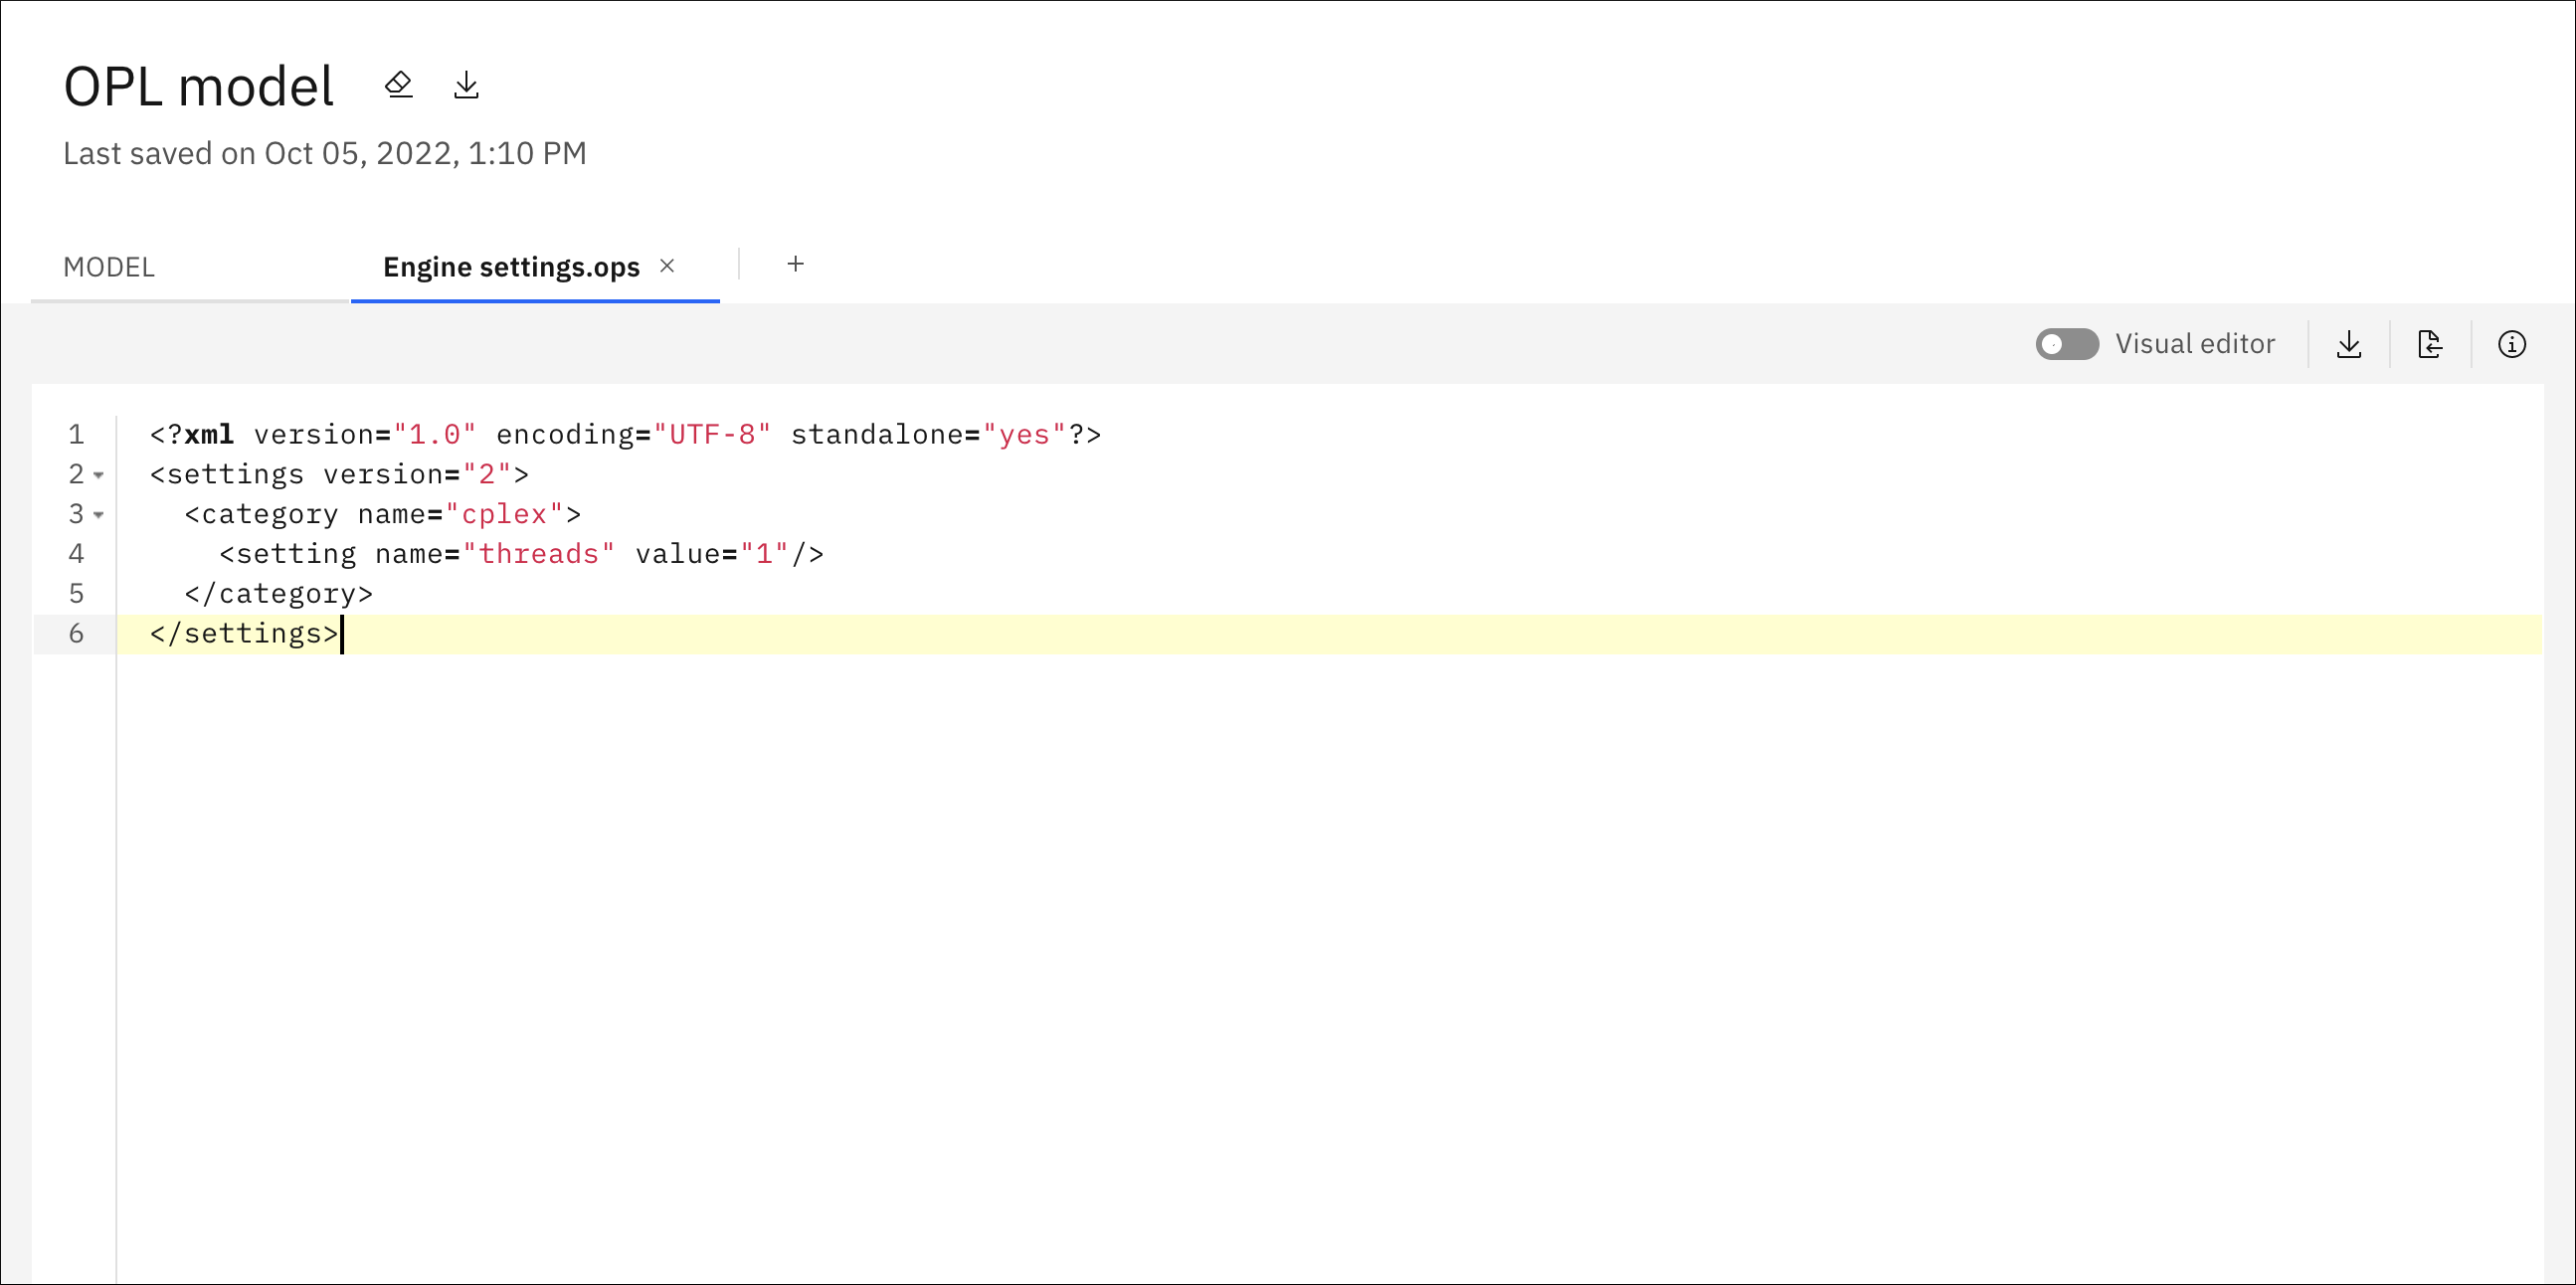
You can toggle the Visual editor switch to the off position to view your changes in an XML editor. The file, when displayed in the XML editor, only contains the parameters that you changed, and does not list all the default parameters. You can also edit the parameters in this XML editor and your changes are displayed in the Visual editor when you toggle the switch back to the on position.
You can import an .ops file to use for your engine settings, but you can only have one engine settings file for your model. Importing such a file can be useful if you have some non-default parameters that you have specified in IBM ILOG CPLEX Optimization Studio that you want to import into your experiment.